Originally, I was looking for a way to 3D print sound files using histograms and a displacement commands in Rhinoceros ( a CAD based program). In Rhino the command called “apply displacement.” However, I discovered by using gray-scale topographic maps the same command could be used to make topographic models. The command displaces a surface based on the color values of a texture applied to the surface. Each pixels value is interpreted as a z axis value, creating a point cloud which the command then pulls the surface to the points
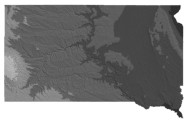
converted topographic map; note the steps in the gradient
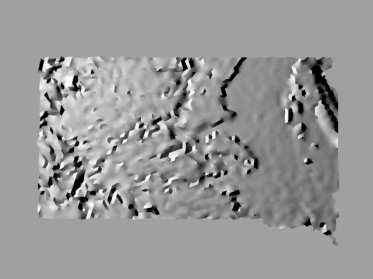
.At first I used simple topographic maps of states, but they were only in color and my imaging software was not very good at changing them into gray-scale without a loss of quality. Next iteration, I’ll be using STRM data, which is gathered from satellites in black and white. A downfall of the STRMs is that they have a smaller geographic area and would need to be stitched together for state-sized models.
However the model from the first maps were decent and made for good practice.
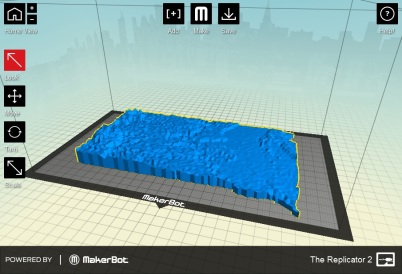
Render of .stl
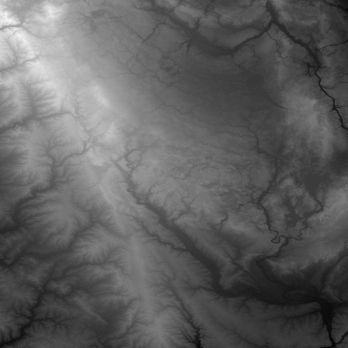
Sample STRM